Temple Guard
JamJar
Well-Known Member
- Messages
- 203
- Likes Received
- 333
- Trophy Points
- 63
@Rikard thanks for that explanation, it answered some questions i was about to ask about tools.
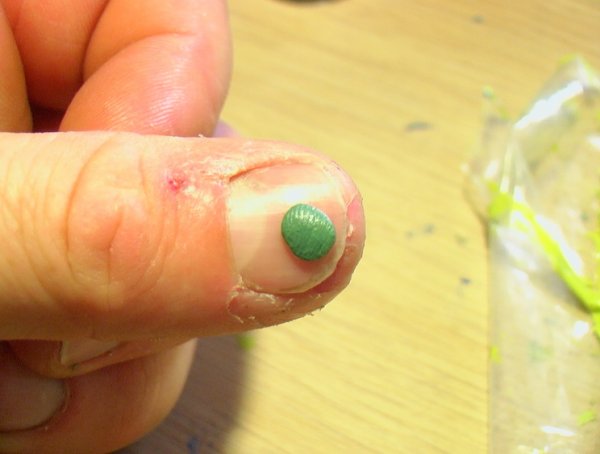
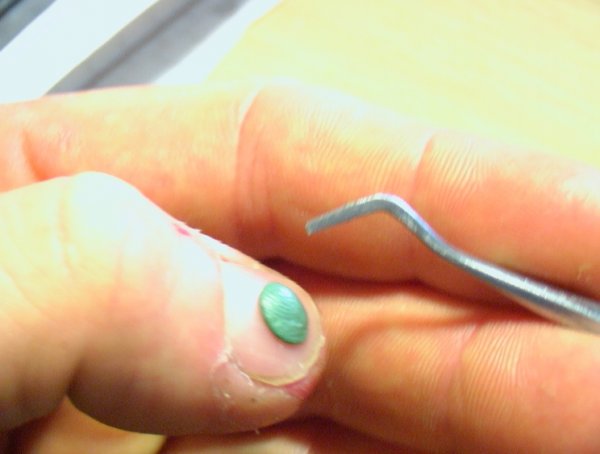
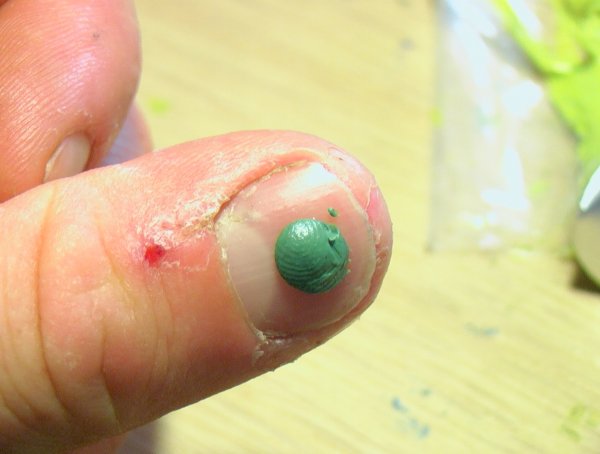
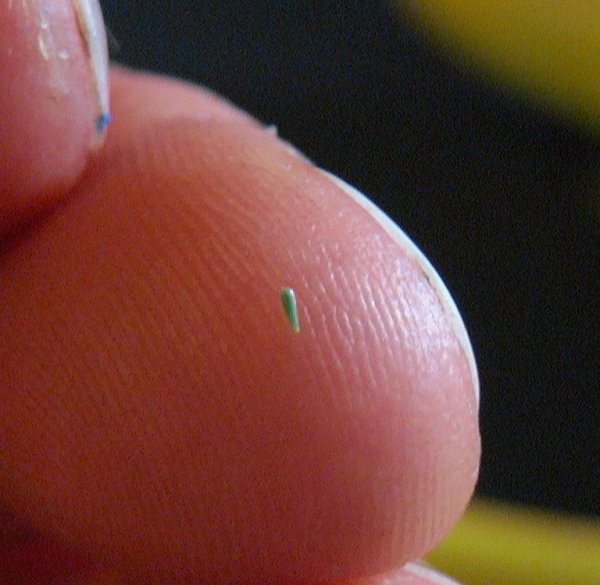
About applying very small or thin pieces of green stuff (maybe if need to make a surface thicker), is it able to stick and hold by itself?
How well does green stuff stick to a smooth plastic surface(eg. Adding spikes to Bastiladon scales)? Do I need wire to reinforce the joint or make cuts to make the surfaces rougher?


")