Moar photos

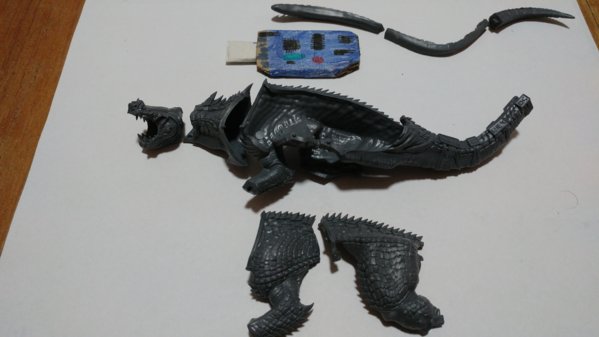
Figure 1. Magnets glued to inside of underarm (these will meet the magnets at the chest of the other side)

Figure 2. Chest magnets (you can also see a new magnet has replaced the paper clip at the spine)
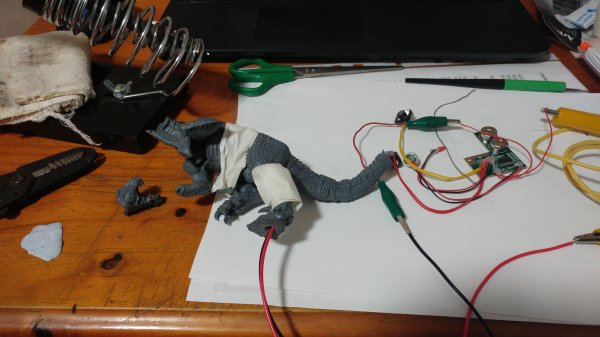
Of all the things I've glued, this was the most difficult, simply because the magnets needed to be in a position where they could sit flush against each other. With this precision required I was limited by the tools I could use, having only my trusty plastic pen lid. Gluing the model in two complete pieces also did not help as I could not see the magnets inside when enclosed completely (it would have been easier to do all this without the spine glued on).
To make this all work, I ended up gluing a row of magnets to one side of the model (Figure 1) in order to align them properly and avoid gluing my fingers. Once the glue dried, I placed another small row of magnets onto those glue down. I then applied glue to the other model piece (Figure 2), assembled it and trusted the magnets were gluing to the other side in the proper position. There was no way of knowing whether it was working as I couldn't see inside the assembled model, nor could I check until the glue dried

Turns out it did work... just after a few attempts

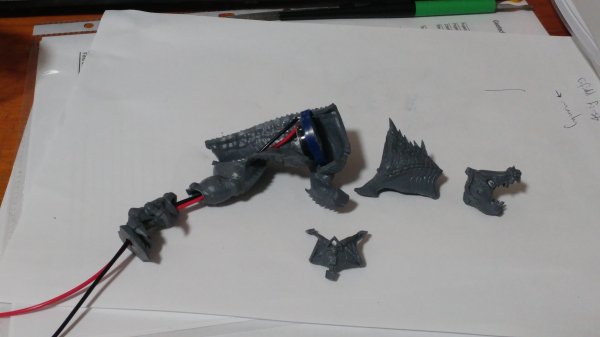
Boy did it make a noticeable difference with magnet to magnet attraction, much stronger now. Once the glue dried I glued bits of sprue around the new magnets to secure them further.
I couldn't stop there after that. You can see I've replace the paper clip from the spine with another magnet in Figure 2. This was similar to the above method but much easier as the new magnets could hold the model in place while I worked out what to do. I'm also going to get a few more magnets to replace one of the paper clips, and for the Saurus throne.

Figure 3. Model held by one of it's arms showing stronger bond between the two pieces

Figure 4. Gap between the two pieces running from the right should down the stomach to the left leg
Need ideas on how to cover up the gaps with strategic painting

Figure 5. Top of model, no gap visible (is on left side of spine), except at right of the neck. Two drilled holes for throne are visible too

Figure 6. Throne with pins

Figure 7. Noice, a bit wobbly though
Will add a couple more magnets then it's ready to paint

")


")