1. This site uses cookies. By continuing to use this site, you are agreeing to our use of cookies. Learn More.
  2. This is just a notice to inform you that we will move the forum to a new server sometime during the next few weeks. The actual process should not last more than a few hours; during this process, we will disable replying and creating new posts. As soon as we know the date for the transfer, we will update with more information.
    Dismiss Notice

8th Ed. Jungleheim: Mordheim in Lustria

Discussion in 'Battle Reports' started by Warden, Feb 5, 2018.

  1. Warden
    Slann

    Warden Tenth Spawning

    Messages:
    6,510
    Likes Received:
    18,460
    Trophy Points:
    113
    Results:

    Me: 3 tokens

    My brother: 3 tokens

    Victor: ceded to the Wood Elves! :cigar:


    A few critiques of the game:

    Positives:

    - Trying out a new warband, the Wood Elves, was a lot of fun! It was really interesting to see the dynamic difference, not only in shooting power, but also in sheer speed as the Wood Elves moved across the battlefield. The Bretonnians will have to be much more strategic next time they encounter them. :bookworm:

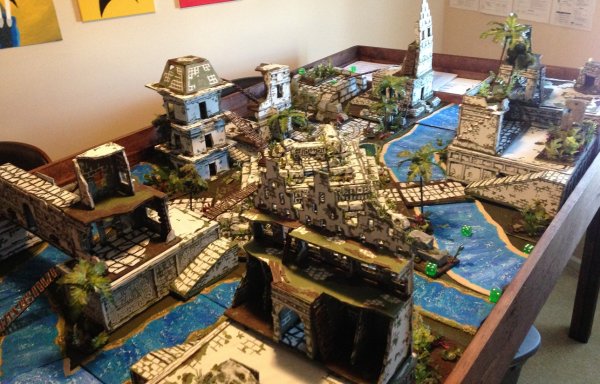
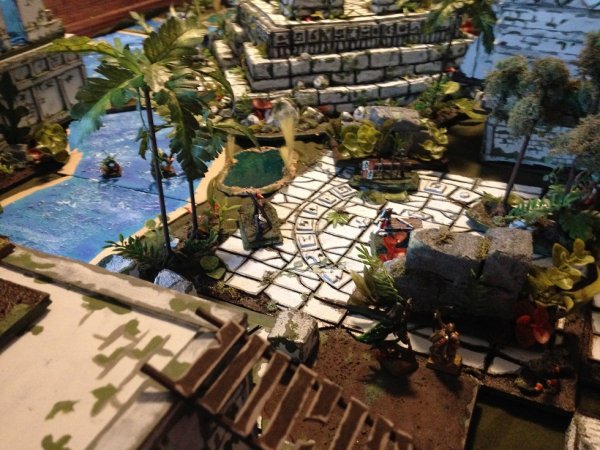
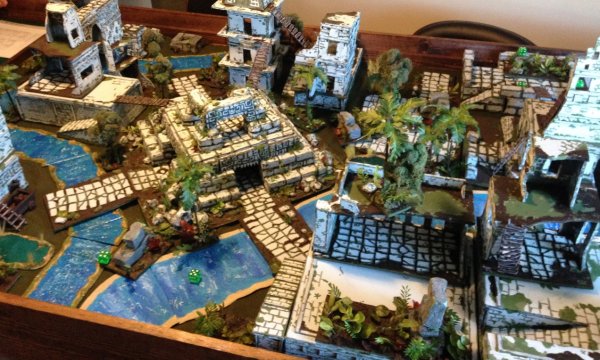
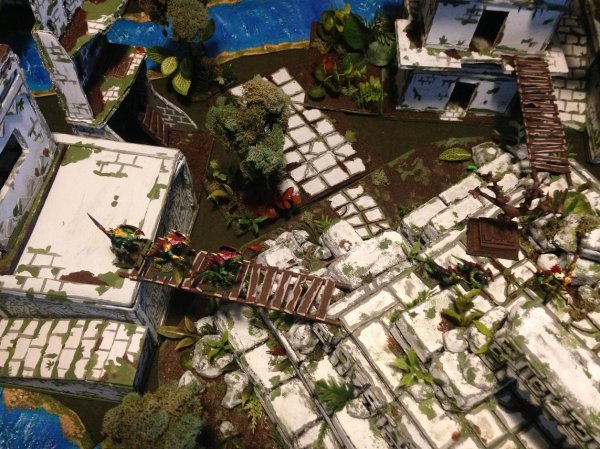
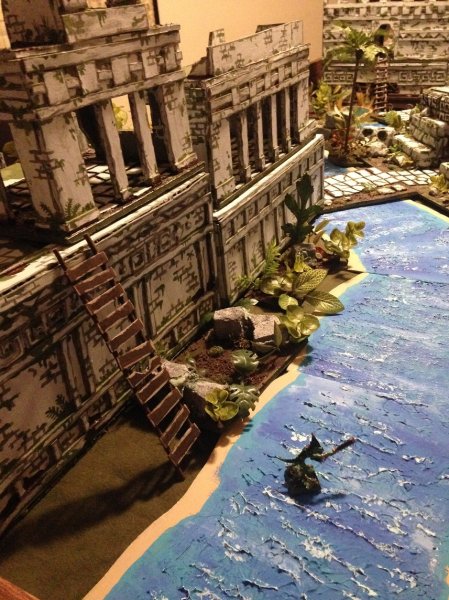
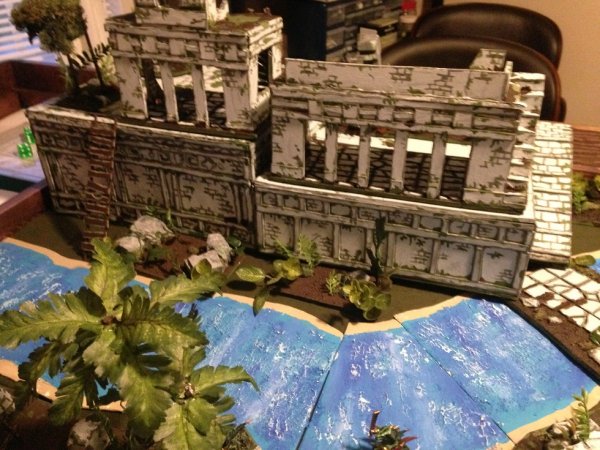
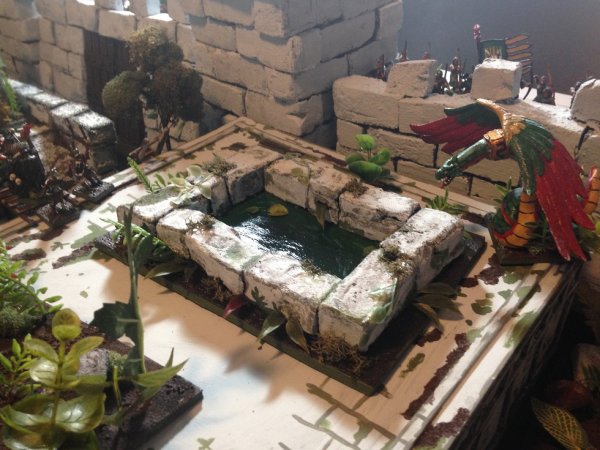
    - The addition of water features looked great on the table! I hope to make some of my own at some point following portions of my brother’s construction methods. :artist:

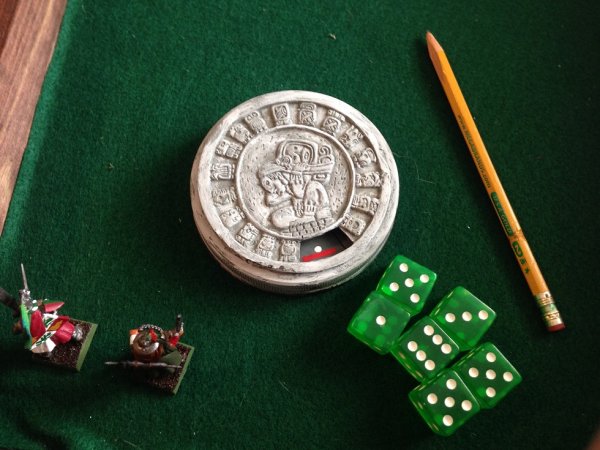
    - Got to use my turn counter!

    warden20180704_turn counter.jpg

    Negatives:

    - Technically my brother’s warband loadout should not have included the hunting cat due to the lack of wild hunter, but that is an easy fix by swapping out one of the pathfinders next time instead.

    - The board was a bit too large for only two armies… but we were having fun so this one really doesn’t count either. Plus the board looked great! :happy:


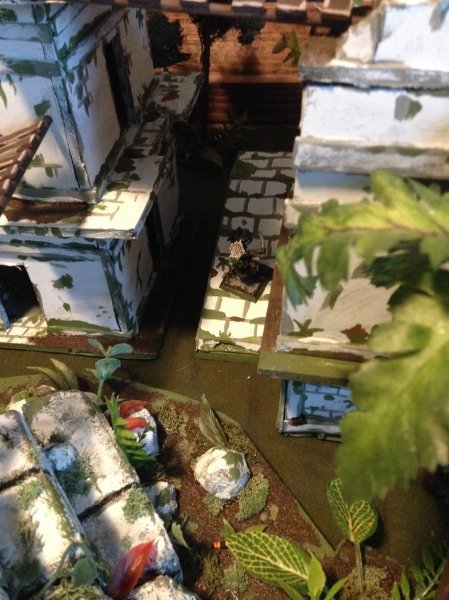
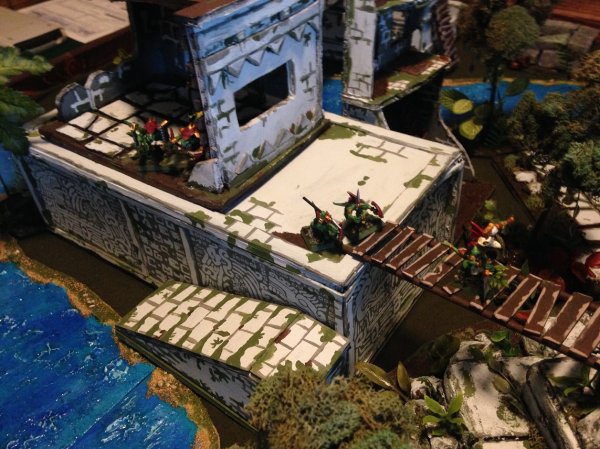
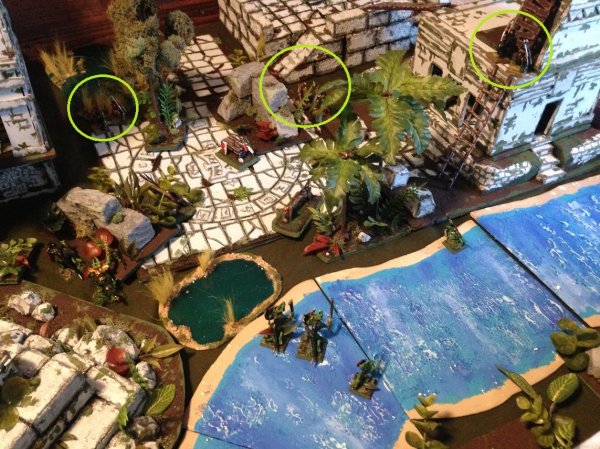
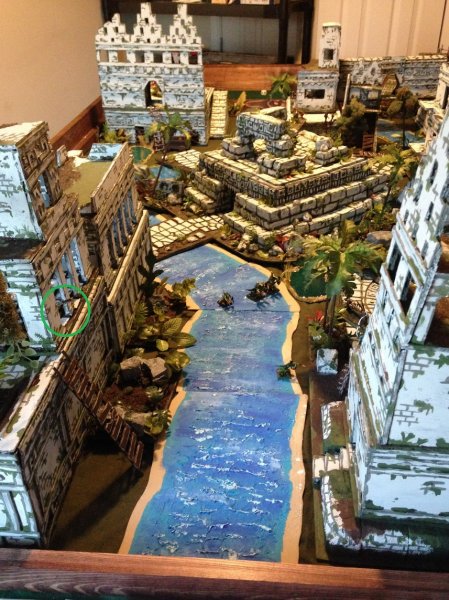
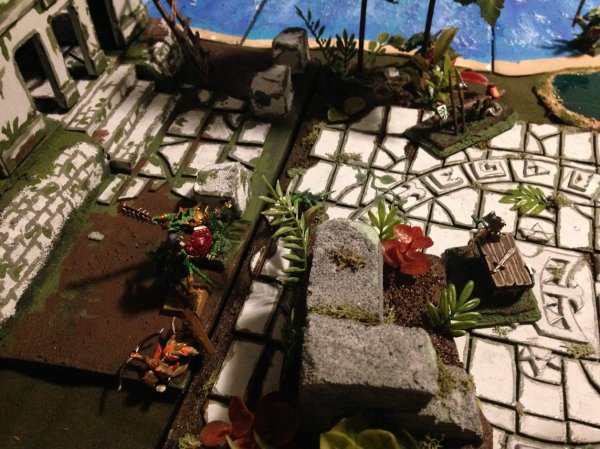
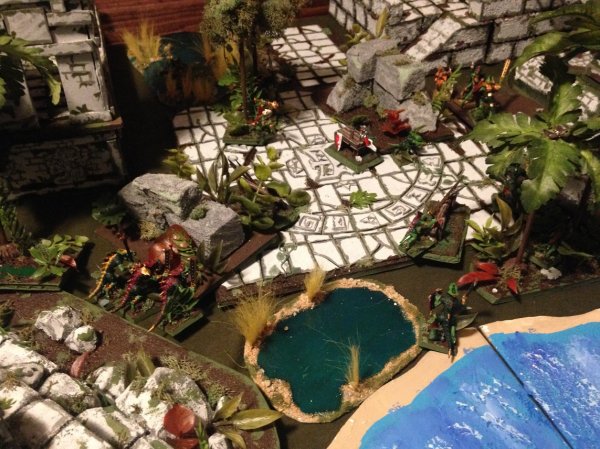
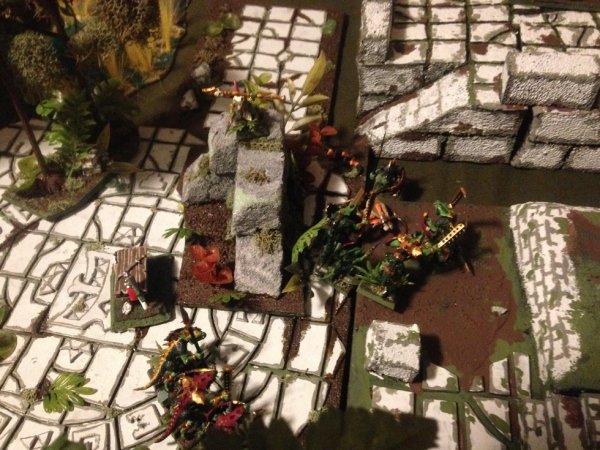
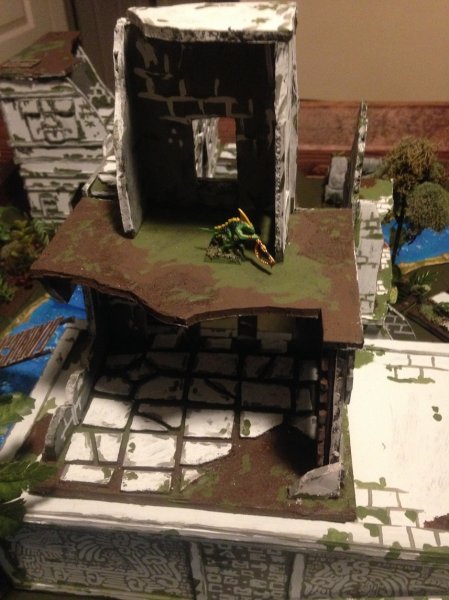
    I hope you enjoyed the battle report, here are a few more pictures that didn't make it into the actual report:
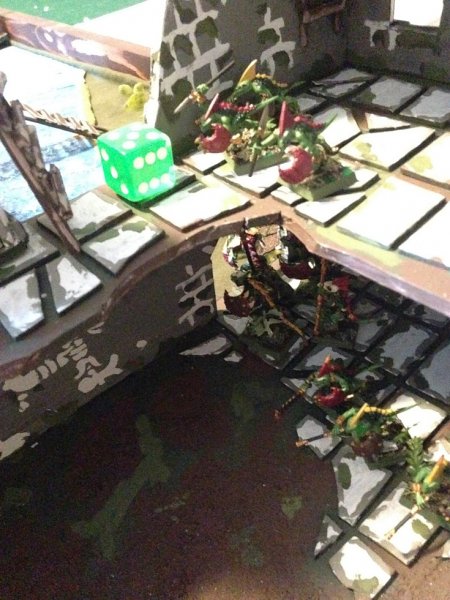
    warden20180704_wood elf battle shot 1.jpg

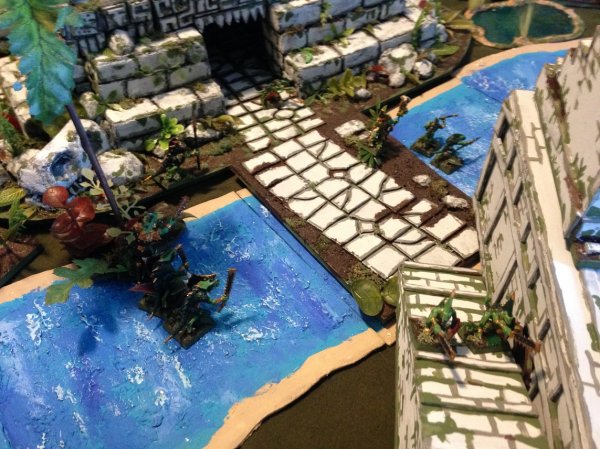
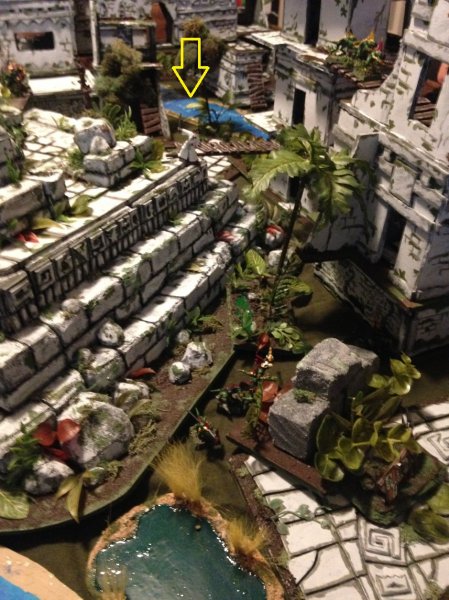
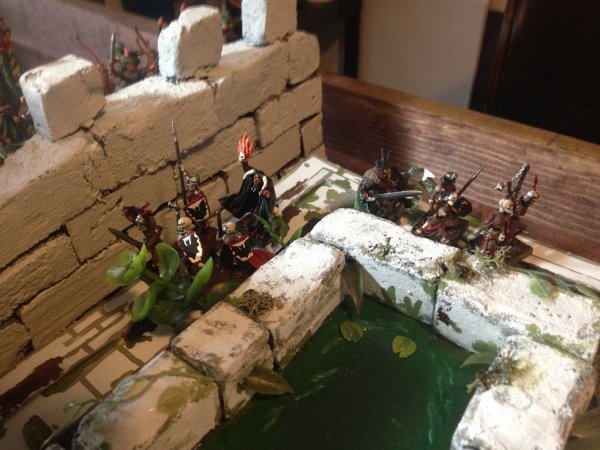
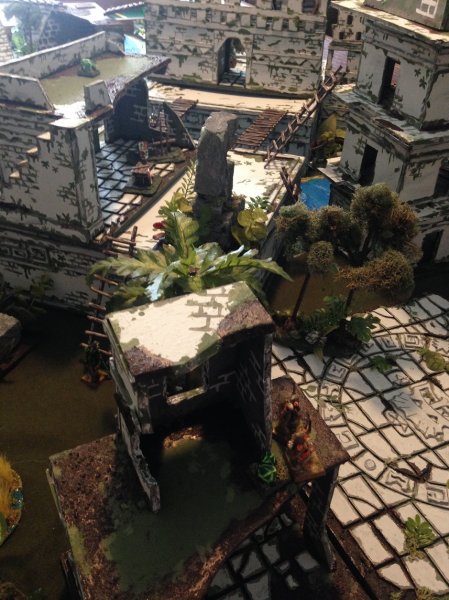
    Little John the Squire atop the Palenque Tower:
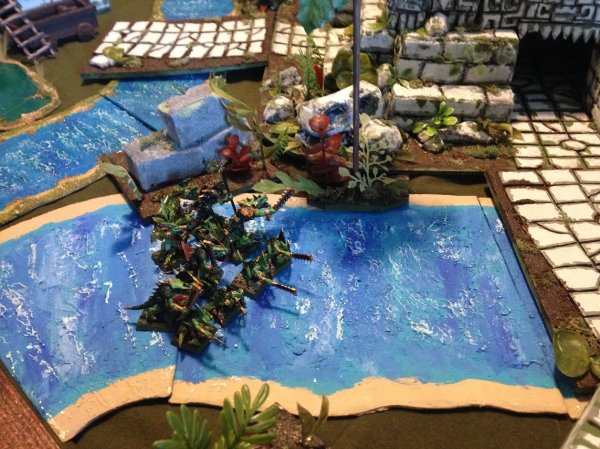
    warden20180704_wood elf battle shot 2.jpg
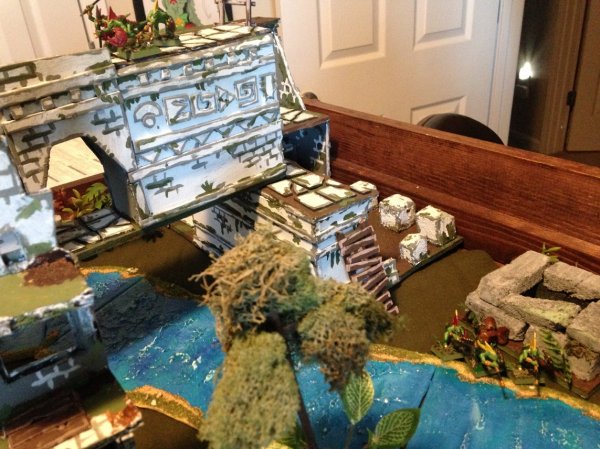
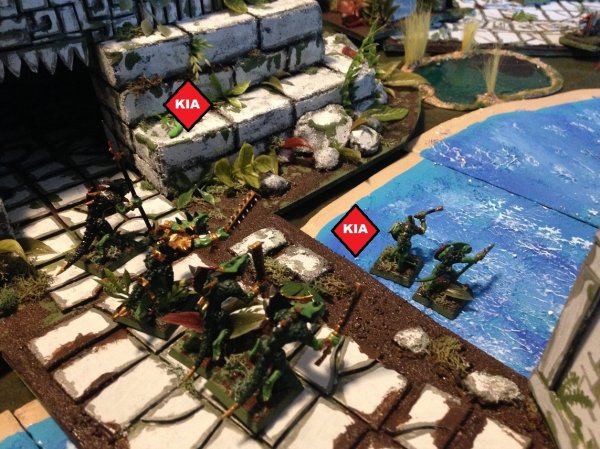
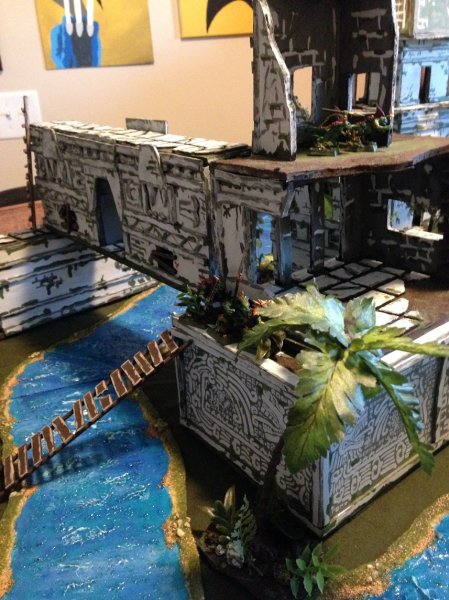
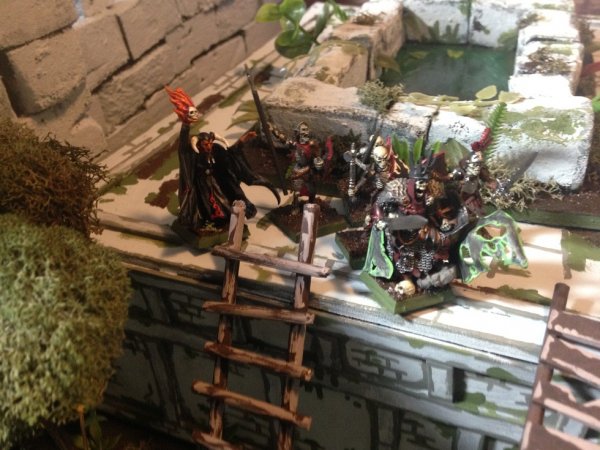
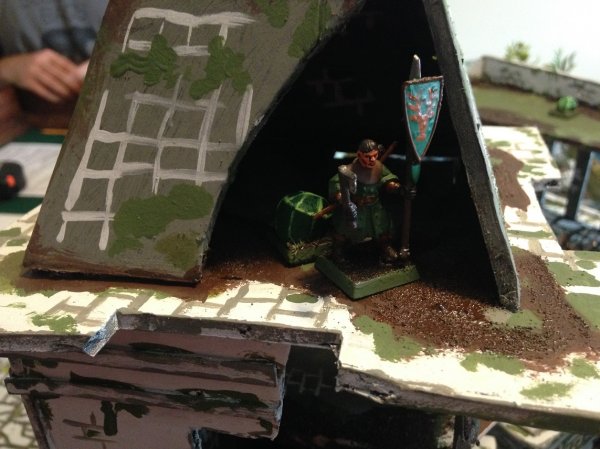
    Wood Elves in their firing positions on the arch over the canal:
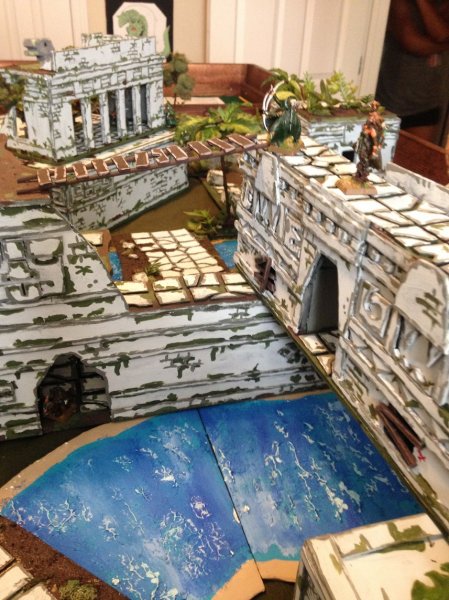
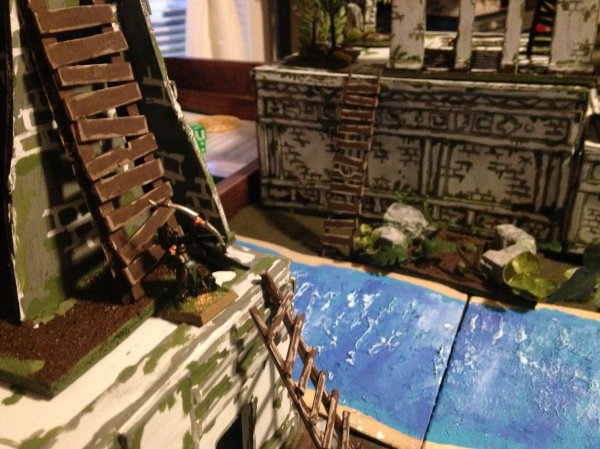
    warden20180704_wood elf battle shot 3.jpg
     
    Imrahil, Nazqua, Scalenex and 2 others like this.
  2. Warden
    Slann

    Warden Tenth Spawning

    Messages:
    6,510
    Likes Received:
    18,460
    Trophy Points:
    113
    Second game of Mordheim played over the 4th of July Weekend, during this game the Lizardmen make an appearance for the first time in the ruins of Jungleheim!


    Battle Report: Lizardmen Strike Back

    1) Setup and Warbands Lists

    2) Battle Report 1: Deployment

    3) Battle Report 2: First Few Turns

    4) Battle Report 3: Midgame and Final Turns

    5) Results and Critiques


    Setup:

    warden20180708_Lizardmen Strike Back Map 1.5.jpg

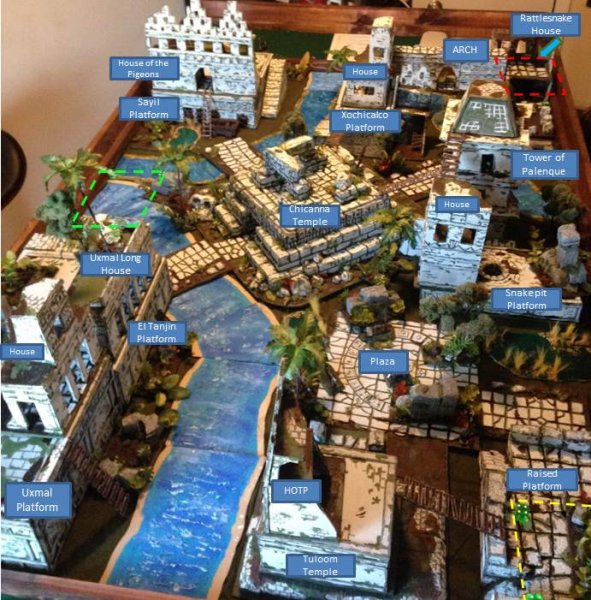
    This game we still set up on the entire 4x6 playing area, making full use of all my brother’s water pieces, but this time we had three players on the field with the addition of my sister!


    Warbands:

    This game marks the debut of my Lizardmen in a Mordheim game. Both my sister and I used very similar Lizardmen warband lists, while my brother brought his Wood Elves.

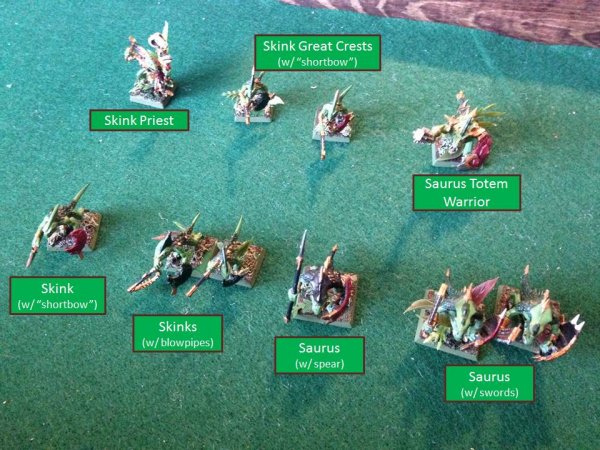
    Here is my Lizardmen list: the Green Lizardmen

    - Skink Priest- the warband leader

    - Saurus Totem Warrior- with sword and shield

    - 2x Skink Great Crest Heroes- each with shortbows

    - 2x Saurus with swords and shields

    - 1x Saurus with a spear and shield

    - 1x Skink with shortbow for extra range

    - 2x Skinks with blowpipes for those double shots

    warden20180708_Lizardmen Strike Back Map 3_green lizardmen.jpg


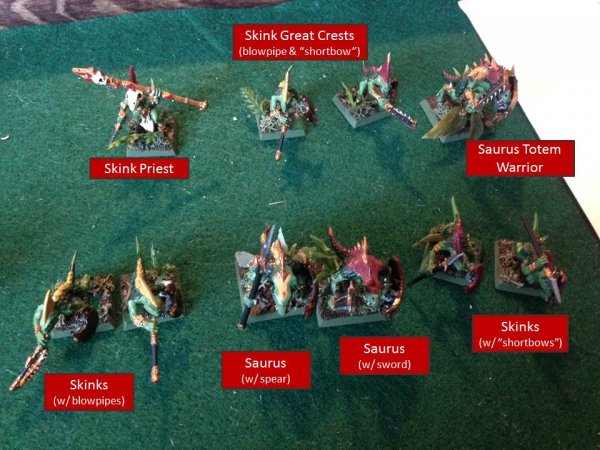
    My sister’s list was very similar (the Red Lizardmen, otherwise known as her “Lovelies”). She went heavier on the skinks for extra mobility:

    - Skink Priest- the warband leader

    - Saurus Totem Warrior- carrying a great weapon

    - 2x Skink Great Crest Heroes- one with a blowpipe, the other a shortbow

    - 1x Saurus with sword and shield

    - 1x Saurus with a spear and shield

    - 2x Skinks with shortbows

    - 2x Skinks with blowpipes


    warden20180708_Lizardmen Strike Back Map 4_red lizardmen.jpg

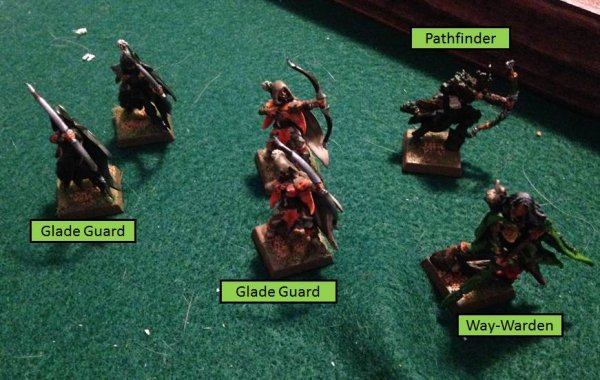
    Opposite the field from these two Lizardmen warbands were my brother’s Wood Elves. This time he went for a much smaller warband, each equipped with Elven Bows and special arrows to reduce armor saves:

    - Way-Warden: the leader, with an elven bow (and a greatsword)

    - Pathfinders with an elven bow and special arrows

    - Two units of 2x Glade Guard each with elven bows

    warden20180708_Lizardmen Strike Back Map 5_wood elves.jpg
     
    Last edited: Jul 22, 2018
  3. Warden
    Slann

    Warden Tenth Spawning

    Messages:
    6,510
    Likes Received:
    18,460
    Trophy Points:
    113
    Battle Report

    Deployment:

    We didn’t play an actual scenario from the rulebook, just deciding to what essentially was a three-way Pitched Battle between the warbands. There are multiplayer scenarios for Mordheim out there that I would want to try some other time (Border Town Burning campaign rules I think).

    warden20180708_Lizardmen Strike Back Map 1.jpg

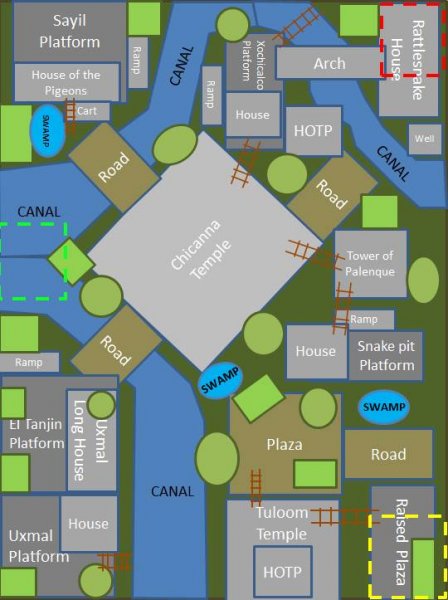
    Top-down view of the battlefield (terradon’s eye view):

    warden20180708_Lizardmen Strike Back Map 2.jpg


    Buildings and platforms are in grey, surface roads are brownish. Green is of course small jungle terrain features or trees.


    No tokens on the map of course, but you can see our initial deployment zones. We tried to space it out evenly before we rolled. The Wood Elves went first and got the high ground in front of the open plaza in the lower right-hand corner (Yellow Zone):

    warden20180708_Lizardmen Strike Back deployment 1.jpg

    My sister’s Red Lizardmen deployed opposite in the upper right-hand corner (Red Zone) within the Rattlesnake House:

    warden20180708_Lizardmen Strike Back deployment 2.jpg

    My Green Lizardmen and I got what remained: the middle on the opposite side of the map (Green Zone) on top of the canals:

    warden20180708_Lizardmen Strike Back deployment 3.jpg
     
    Imrahil, Nazqua, Scalenex and 2 others like this.
  4. Warden
    Slann

    Warden Tenth Spawning

    Messages:
    6,510
    Likes Received:
    18,460
    Trophy Points:
    113
    Battle Report: Continued

    First Few Turns:


    On the very first turn each of the warbands started moving towards each other. My sister’s skinks took the initiative and spread out over the canals and onto the arch-bridge:

    warden20180708_Lizardmen Strike Back first turns 1.jpg

    The wood elves did not move much, instead they took up defensible positions above the Tuloom Temple in their corner deployment zone. This commanded great fields of fire across the Plaza and the canals next to it.

    warden20180708_Lizardmen Strike Back first turns 1.5.jpg

    Despite the open terrain, I decided to go ahead and march my Green Lizardmen towards the Wood Elves. I started in the middle between both warbands, and I figured it would be easier to engage just one warband at a time, rather than just both. Plus my Lizardmen had heard that the Wood Elves had just beat up my Bretonnians in the previous game, and had a grudge to settle…

    warden20180708_Lizardmen Strike Back first turns 2.jpg

    My two Skink Great Crests were sent up the ramp to get better firing positions over the canal with their shortbows.

    I knew I was going to have some problems going across the canals though. Skinks are aquatic and could benefit from a cover save in the water, but saurus were not and would have to slog through the canal at half speed, with plenty of time for the Wood Elves to pick their targets. Which is exactly what happened on turn 2, with the Wood Elves picking off my skink priest and another skink… :hungover::hungover:

    warden20180708_Lizardmen Strike Back first turns 3.jpg

    The stalwart cold-blooded warriors passed their route test of course, so they continued on towards the wood elves.

    As turn 2 continued, the Red Lizardmen continued their high-road approach towards the center of the board, far away from all the Wood Elven shooting:

    warden20180708_Lizardmen Strike Back first turns 4.jpg

    Three of her skinks entered the Palenque Tower to get a better vantage point:

    warden20180708_Lizardmen Strike Back first turns 5.jpg

    However at the start of turn 3, things started getting interesting with our first Random Encounter. An Amazon Warrior Priestess (Sigmarite Matriarch in the rulebook) appeared with some formidable weaponry next to the Palenque Tower, directly in the avenue of approach of the Red Lizardmen.

    warden20180708_Lizardmen Strike Back first turns 6.jpg

    Since the Amazon was closest to the Red Lizardmen in the tower she immediately began to chase the skinks up the tower ladders.

    This also effected what I was planning to do next. Because of the furious Wood Elf fire in the canal waterways, I had been planning to turn my warband hard left, and take shelter inside the large Chicanna Temple in the center of the map. This would allow me to hide from the expert archers, and possibly give me a new area to maneuver, maybe even take the fight to the other Lizardmen warband. Having the Amazon appear where she did prevented me from taking that option, I did not want to get too close to her! :bag:
     
    Last edited: Jul 22, 2018
  5. Warden
    Slann

    Warden Tenth Spawning

    Messages:
    6,510
    Likes Received:
    18,460
    Trophy Points:
    113
    Battle Report: Continued

    Midgame:


    The center of the game was a giant build-up for the end of the game. In summary, both Lizardmen warbands kept moving forward to the bottom right-hand corner of the map where the Wood Elves were entrenched.

    Turn 3 continued with the Red Lizardmen coming across the ladders to the temple in the center of the board:

    warden20180708_Lizardmen Strike Back midgame 1.jpg

    My Green Lizardmen continued to swim towards the Wood Elves, hoping the water would give us some measure of protection:

    warden20180708_Lizardmen Strike Back midgame 2.jpg

    It is a little hard to see the wood elves in the picture so I highlighted them. It must be their camouflaged Elven Cloaks!

    My surviving Skink Great Crest (the other one was sniped) took up a good firing position in the high buildings over the canal, attempting to give my swimming lizards a chance:

    warden20180708_Lizardmen Strike Back midgame 3.jpg

    Turn 4 the Lizardmen continued to move, with another Green Skink dying to elven fire. But by the end of the turn the Lizardmen finally had the Wood Elves (almost) in their sights!

    warden20180708_Lizardmen Strike Back midgame 5.jpg

    Final Turns:

    At the start of turn 5 our second Random Encounter happened!

    We rolled a second Sigmarite Matriarch encounter, but not having a second Amazon model we used my Samurai Jack model (during this battle renamed to Samurai Jacky) to be a stand in. Samurai Jacky appeared on top of the Chicanna Temple, splitting the approach of the Red Lizardmen in two:

    warden20180708_Lizardmen Strike Back endgame 1.jpg

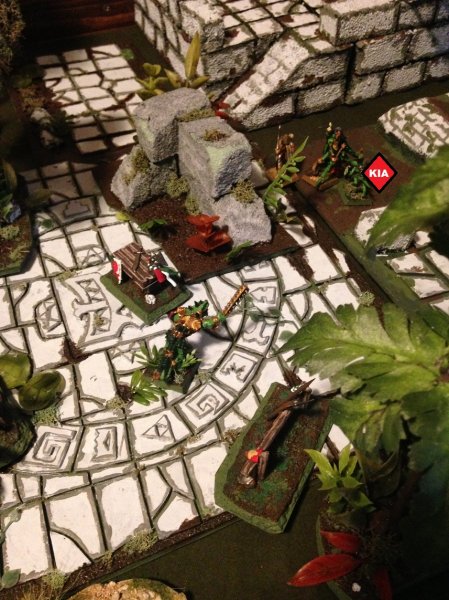
    The rest of my Saurus either dead or knocked down , my Saurus Totem-Warrior hero makes a suicidal run directly into the center of the plaza. Bereft of any terrain, he had to count on only his armor save to protect him.

    Fortunately a lone skink made a brave charge into the Wood Elf Way-Warden, taking a Great Weapon attack to the face. Though the skink died immediately, he saved his liege-lizard from an anti-armor-save bow attack that probably would have killed him. :hurting:

    warden20180708_Lizardmen Strike Back endgame 2.jpg

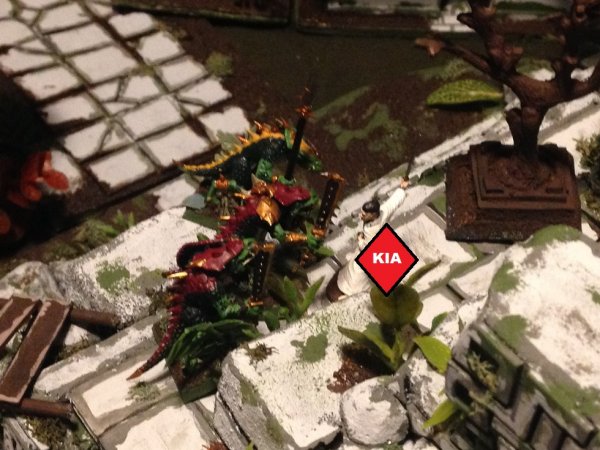
    Samurai Jacky also met her demise within a turn of appearing on the board. Being required to charge the nearest foe, she charged directly into three of the Red Lizardmen saurus bearing down on her, and was soundly defeated :blackeye::

    warden20180708_Lizardmen Strike Back endgame 3.jpg

    Next turn my Totem Warrior charged the Way-Warden, and the two of them traded blows until the Wood Elf finally went down:

    warden20180708_Lizardmen Strike Back endgame 4.jpg

    About this time my last remaining skink, a Great Crest, attempted to swim the canal to give my Totem Warrior some backup. But thanks to a chance random encounter in the final phase he was possessed by some ruinous spirits, and promptly keeled over and was out of action. :hungover:

    Also around this time the Amazon (the first Sigmarite Matriarch to show up) was also defeated, this time by the combined shooting of three of my sister's skinks (blowpipes have double shots, so it was only a matter of time before one hit!).

    At the end of turn 6, my few remaining Green Lizardmen were engaged with the Wood Elves. By this point the Red Lizardmen had moved up all their troopers as well, and via an unspoken alliance neither Lizardmen warband attacked the other (much to the chagrin of the Wood Elves!):

    warden20180708_Lizardmen Strike Back endgame 6.jpg

    However in turn 7 the Wood Elves were all but destroyed. I only had four Lizardmen saurus left, which would not have been enough to stave off the entire Red Lizardmen warband, who now had me completely surrounded by saurus to my rear, and skinks in the ruins above me ready with their bows and blowpipes. :vamp:

    warden20180708_Lizardmen Strike Back endgame 7.jpg
     
    Last edited: Jul 22, 2018
    Imrahil, Nazqua, Scalenex and 2 others like this.
  6. Warden
    Slann

    Warden Tenth Spawning

    Messages:
    6,510
    Likes Received:
    18,460
    Trophy Points:
    113
    Results:

    Green Lizardmen surrendered the field to the Red Lizardmen, ceding the field and giving my sister her second Mordheim victory! :vulcan::greedy::cool:
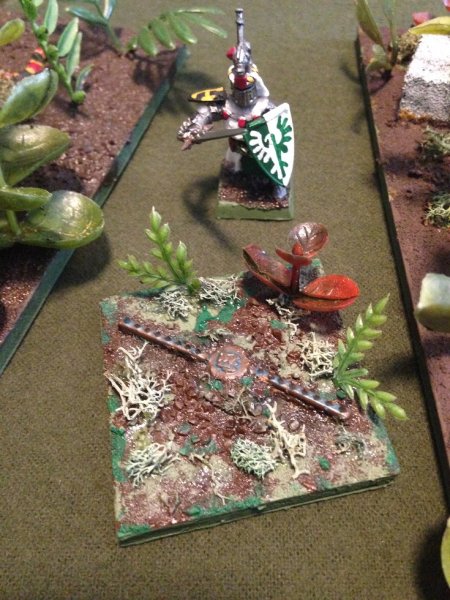


    A few critiques of the game:
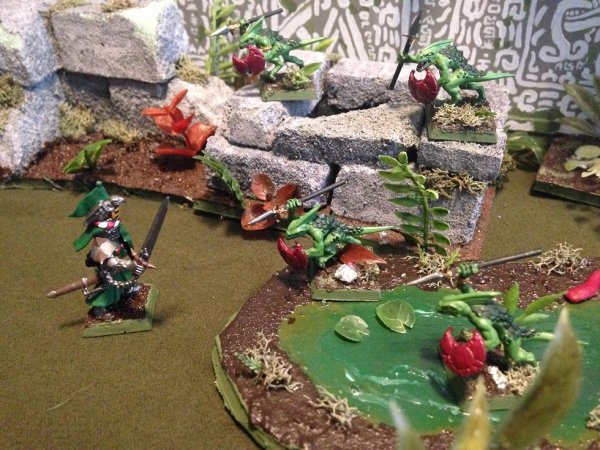
    Positives:

    - Experimenting with the Wood Elf and Lizardmen warbands were a lot of fun. Skinks die to bow fire really easily, while the saurus are (relatively) harder to take down.

    - The canals and water features were a great addition to this game as well!

    Improves:

    - Three-way-Mordheim games can be a lot of fun but next time we are going to need to use some actual objectives, whether they are treasure tokens, area occupation/denial, or capture-the-flag. Because we played a “rumble in the jungle” match it quickly morphed into two-on-one. Having a specific objective will the warbands a bit more to do, and force some extra movement in the game (and potentially more backstabbing!).

    - My sister forgot one of her skinks! He spent all game hiding inside one of the tower buildings completely forgotten!

    warden20180708_Lizardmen Strike Back endgame 8.jpg

    - I need to build more actual bridges and archways to use if we do the canal terrain again; they would be a very useful addition to the board.


    I hope you enjoyed the battle report and the pictures. :vulcan: Here are a few more that I didn't have room for in the earlier posts:

    warden20180708_Lizardmen Strike Back Map 6.jpg

    warden20180708_Lizardmen Strike Back midgame 4.jpg

    warden20180708_Lizardmen Strike Back endgame 5.jpg

    warden20180708_Lizardmen Strike Back Map 7.jpg

    warden20180708_Lizardmen Strike Back Map 8.jpg
     
    Imrahil, Nazqua, Crowsfoot and 2 others like this.
  7. Killer Angel
    Slann

    Killer Angel Prophet of the Stars Staff Member

    Messages:
    16,310
    Likes Received:
    35,034
    Trophy Points:
    113
    These BatReps are... are... what's the word?
    Ah Yes... Amazing. These BatReps are absolutely amazing, and the battlefield is gorgeous. :)


    Oh, btw... tnx for bringing back old memories of my mordheim campaign! Those were FUN times...
     
    Nazqua, Warden, Aginor and 1 other person like this.
  8. Warden
    Slann

    Warden Tenth Spawning

    Messages:
    6,510
    Likes Received:
    18,460
    Trophy Points:
    113
    Thanks! They were fun to do, and I really enjoyed the construction process!
     
    Imrahil, Nazqua and Killer Angel like this.
  9. Crowsfoot
    Slann

    Crowsfoot Guardian of Paints Staff Member

    Messages:
    8,344
    Likes Received:
    14,490
    Trophy Points:
    113
    One word, Excellent but that does not cover it.

    The board looks amazing, I'm jealous but you have given me inspiration ;)
     
    Nazqua and Warden like this.
  10. Warden
    Slann

    Warden Tenth Spawning

    Messages:
    6,510
    Likes Received:
    18,460
    Trophy Points:
    113
    I am honored! :vulcan:
     
    Nazqua and Crowsfoot like this.
  11. Crowsfoot
    Slann

    Crowsfoot Guardian of Paints Staff Member

    Messages:
    8,344
    Likes Received:
    14,490
    Trophy Points:
    113
    Well deserved
     
    Nazqua and Warden like this.
  12. Aginor
    Slann

    Aginor Fifth Spawning Staff Member

    Messages:
    12,249
    Likes Received:
    20,160
    Trophy Points:
    113
    Great report with nice pictures!
     
    Nazqua and Warden like this.
  13. Warden
    Slann

    Warden Tenth Spawning

    Messages:
    6,510
    Likes Received:
    18,460
    Trophy Points:
    113
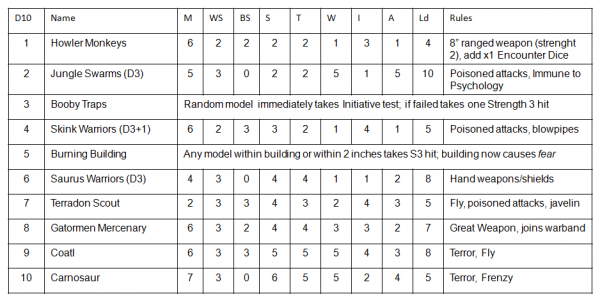
    I really like the idea of Random Happenings in Mordheim, so I have been slowly working on how to use my miniatures collection to add this into future games. I have made a small list of Jungle Encounters that I can now represent with my collection.

    • These rules represent the weird and dangerous things that can happen in deep in the jungle which are beyond the control of players.
    • To determine if a random encounter occurs, roll a D6 at the start of each player's turn. A result of 1 indicates a random encounter.
    • Roll a D10 for the random encounter on the chart below to see what exactly is encountered.
    • The models that represent a random encounter must all be placed within 6" of a randomly determined board edge and they will remain within 2" of another member of their group at all times.
    • Random encounter members must be placed (and will remain, unless their description indicates otherwise) at ground level in the open. The Encountering Player places the models representing the random encounter, note that they cannot initially be placed within 12" of any warband models.
    • After being placed, many encounters will travel as quickly as possible (without running) towards the nearest warband model. For this purpose the nearest model is the model that the encounter can reach most quickly and encounter models will never climb the sides of a building to get at a warband member.
    • Multiple encounters can take place during a single game.
    When rolling on this chart, add the appropriate number to the result depending on which game turn you have reached:
    • Turn 1: D10 – 3
    • Turn 2: D10 – 2
    • Turn 3: D10 – 1
    • Turn 4+ : D10

    l like the idea of having multiple encounters in a single game, I have always played that way before.
    Jungle Encounters 11NOV18.png
    Some specific rules:

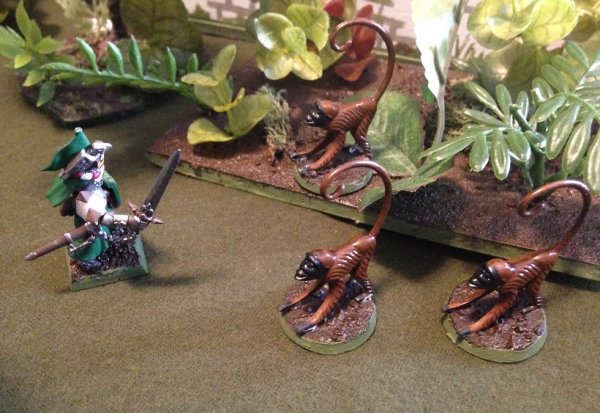
    Howler Monkeys- They are pretty weak individually, but the more that arrive the more crowded the board can get! Each turn, for every Howler Monkey on the board, players roll an additional +1 Encounter Dice when rolling to see if any encounters arrive.

    Booby Traps- Encounter Player randomly selects one model to have "found" the trap, and takes a Strength D3 wound.

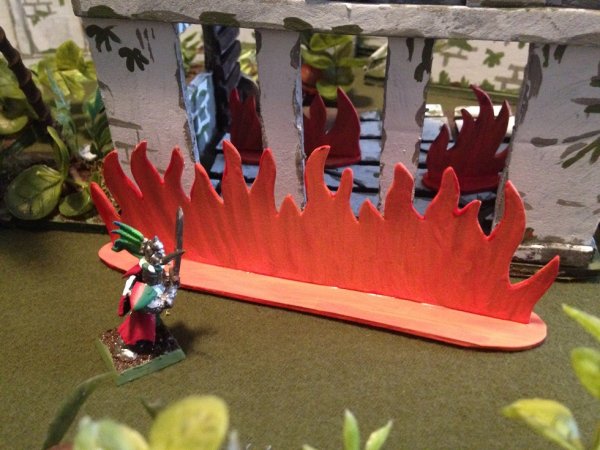
    Burning Building- Encounter Player randomly determines one building to spontaneously catch fire. Any models within the building or within 2 inches immediately take a Strength 3 hit, and will take additional hits if they remain within the building.

    I think it would be neat to experiment with extra rules for the traps and the burning buildings, like the chances for multiple traps, or for the fire to spread from building to building!

    Another note: I have built this list off of a D10 dice roll; I want to eventually go up to a D20 like they use in Frostgrave.
     
  14. Warden
    Slann

    Warden Tenth Spawning

    Messages:
    6,510
    Likes Received:
    18,460
    Trophy Points:
    113
    Took some pics of my Jungle Encounters!

    1) Howler Monkeys (call other creatures to the site by adding an extra Encounter Dice)

    warden201811_jungle encounters 1_monkeys.jpg


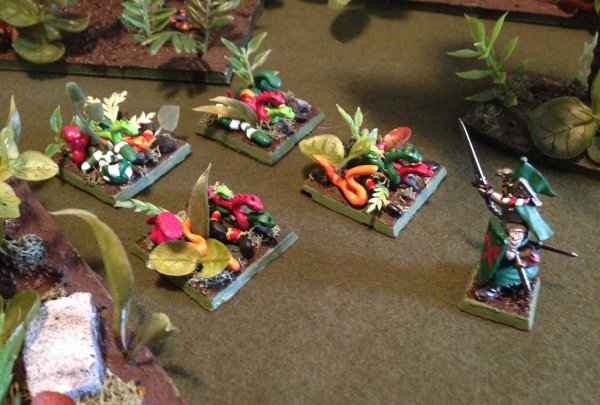
    2) Jungle Swarms (D3)

    warden201811_jungle encounters 2_jungle swarms.jpg


    3) Booby Traps (random S3 hit)

    warden201811_jungle encounters 3_booby traps.jpg


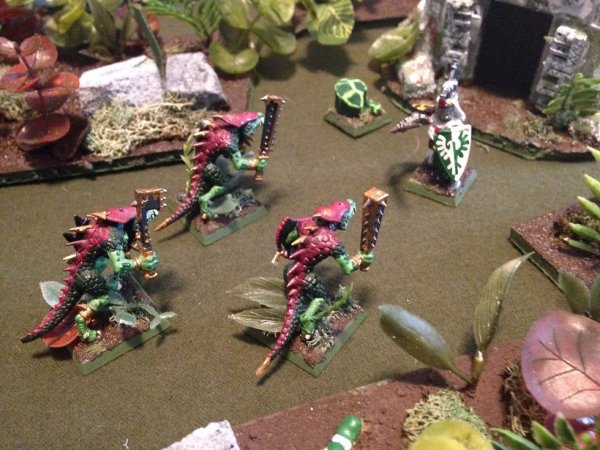
    4) Skink Warriors (D3+1)

    warden201811_jungle encounters 4_skink warriors.jpg


    5) Burning Building (Any models within 2 inches of the building take S3 hits)

    warden201811_jungle encounters 5_burning building.jpg


    6) Saurus Warriors (D3)

    warden201811_jungle encounters 6_saurus warrior.jpg


    7) Terradon

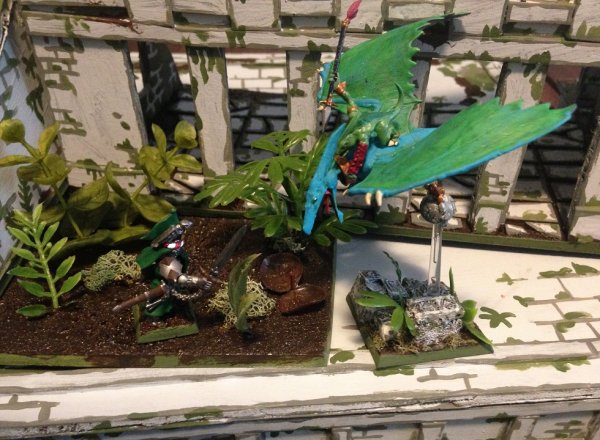
    warden201811_jungle encounters 7_terradon.jpg


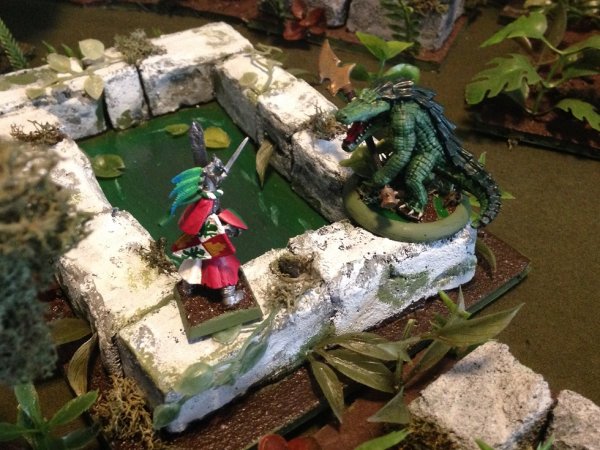
    8) Gatorman Mercenary

    warden201811_jungle encounters 8_gatorman mercenary.jpg


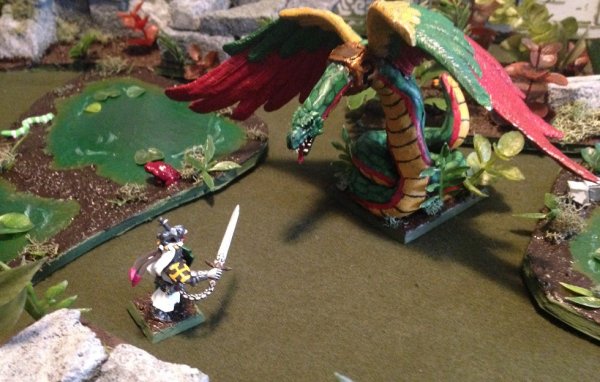
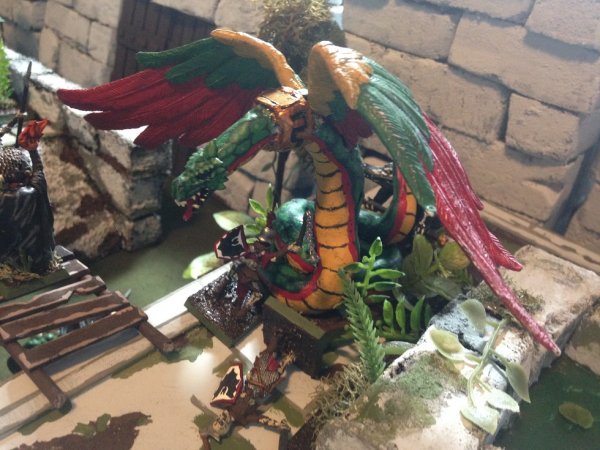
    9) Coatl- Guardian of the Sacred Places

    warden201811_jungle encounters 9_coatl.jpg


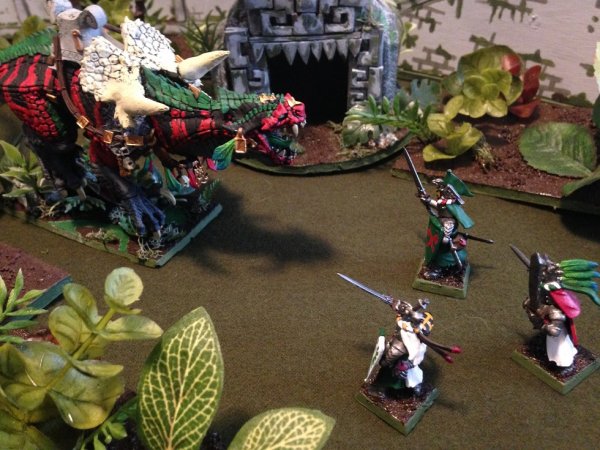
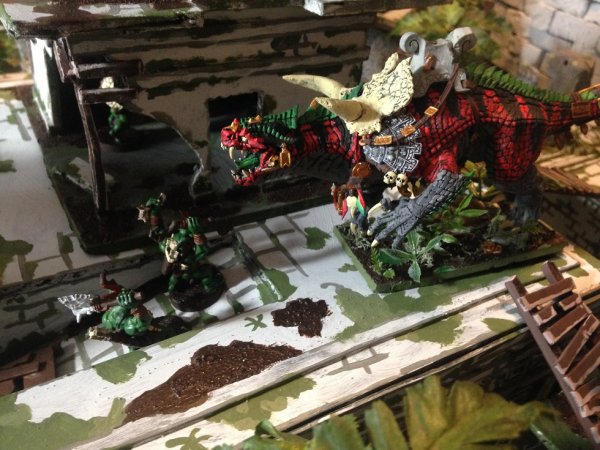
    10) Carnosaur- Avatar of the Jungles Wrath

    warden201811_jungle encounters 10_carnosaur.jpg
     
    Imrahil, Nazqua, Scalenex and 2 others like this.
  15. Killer Angel
    Slann

    Killer Angel Prophet of the Stars Staff Member

    Messages:
    16,310
    Likes Received:
    35,034
    Trophy Points:
    113
    Neat idea!
    Now i will wait for your next report, hoping for random encounters... :D
     
    Nazqua and Warden like this.
  16. Warden
    Slann

    Warden Tenth Spawning

    Messages:
    6,510
    Likes Received:
    18,460
    Trophy Points:
    113
    Long overdue battle report, the first of two, that I did with my brother way back in December!

    Mordheim Battle Report: Monkeys in the Tower
    1. Setup and Warbands Lists
    2. Deployment
    3. The Battle (part 1)
    4. The Battle (part 2)

    Setup and Warbands

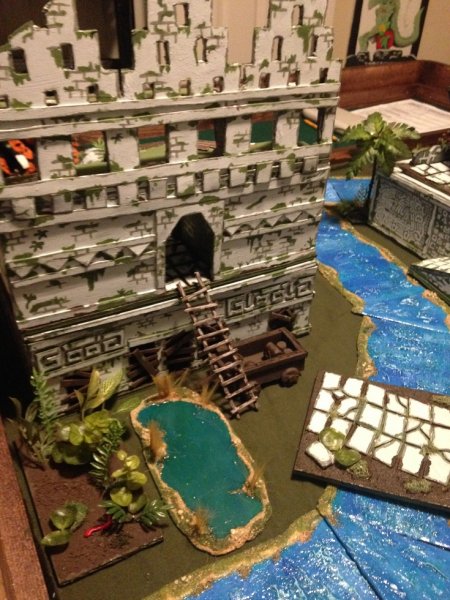
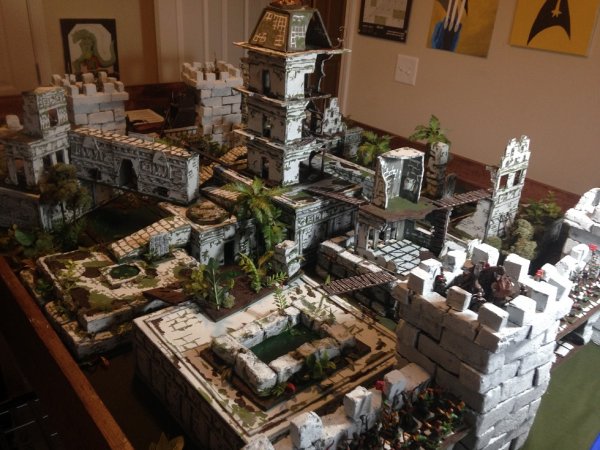
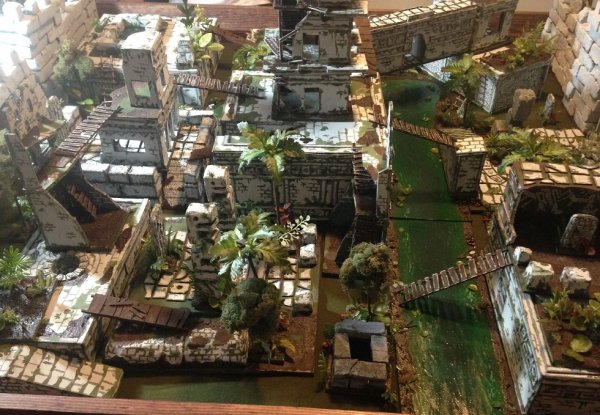
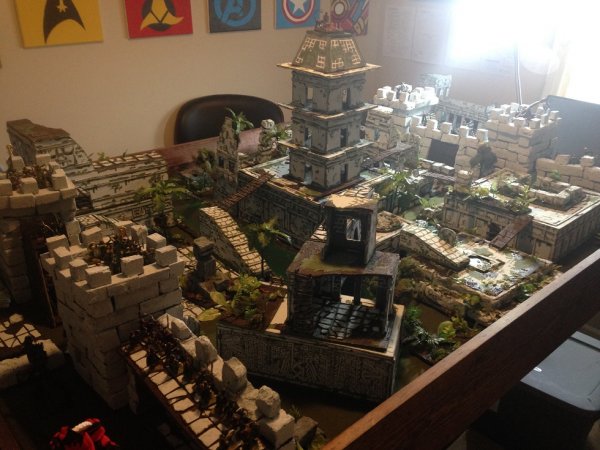
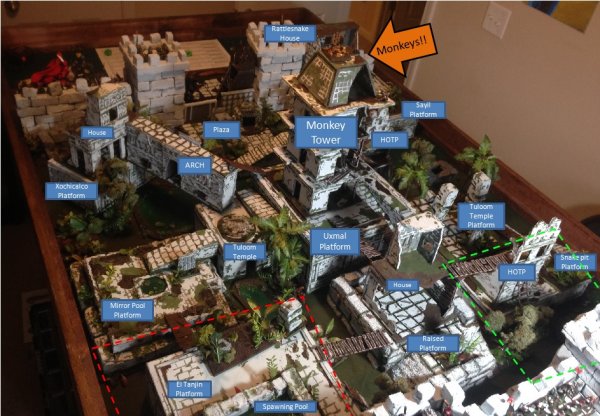
    We set up the board for a 4x4 match, as the 4x6 was consistently too big for only two players. Packed in lots of terrain centered around making the Palenque tower as tall as possible.

    warden20181228_monkeys in the tower_overview 2.jpg

    warden20181228_monkeys in the tower_overview 3.jpg
    warden20181228_monkeys in the tower_overview 1.jpg

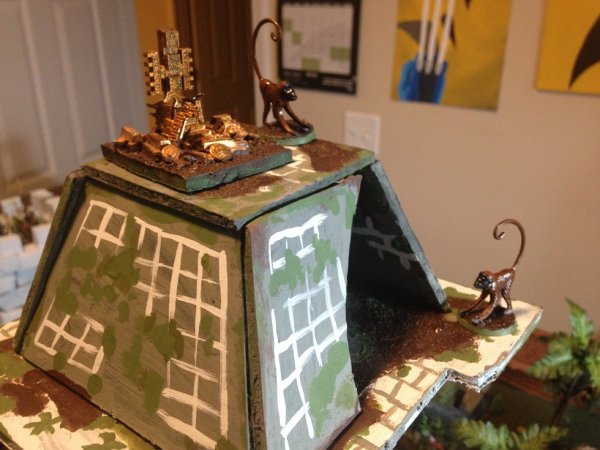
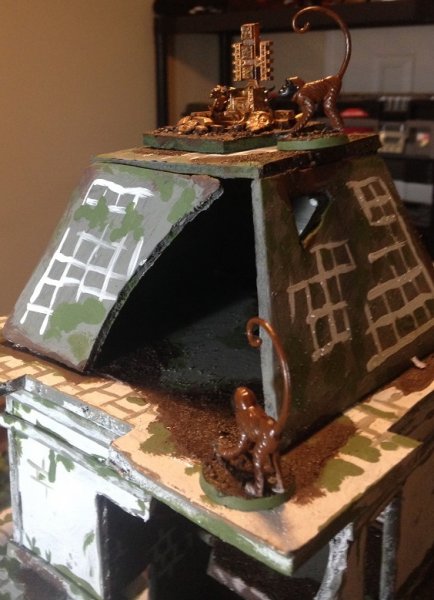
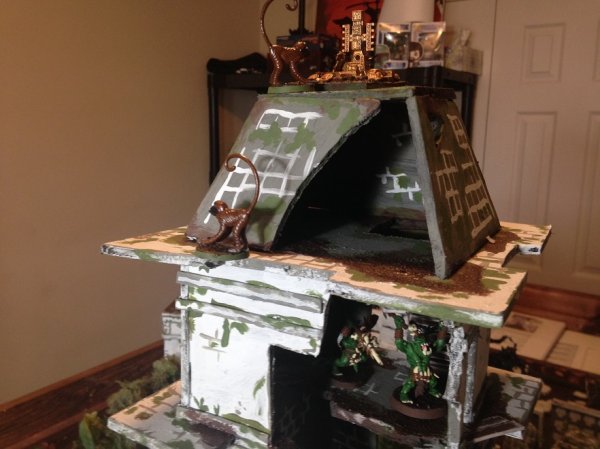
    At the top of the central tower were the monkeys and the treasure.

    warden20181228_monkeys in the tower_overview 5.jpg

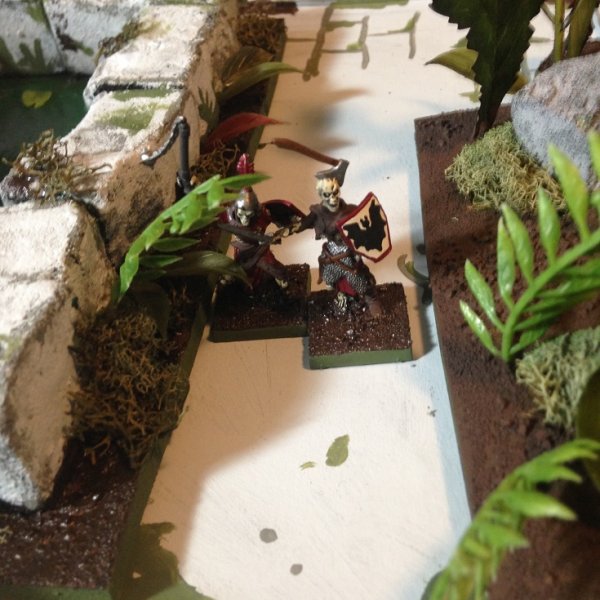
    Didn't use any lizardmen warbands this game (though some lizardmen models factored into the random encounters! :D). We decided to try out two completely new warbands that neither of us have played before and I was anxious to try out: Orcs and Skeletons. During this game I was the orcs and my brother was the undead, the next match we swapped sides to give the other warband a try.

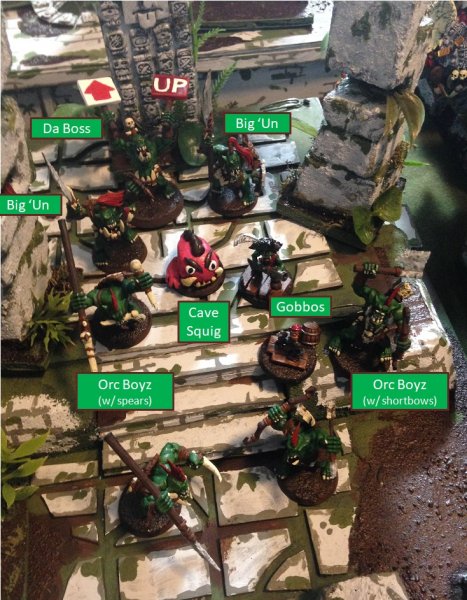
    Orc Warband: technically Savage Orcs
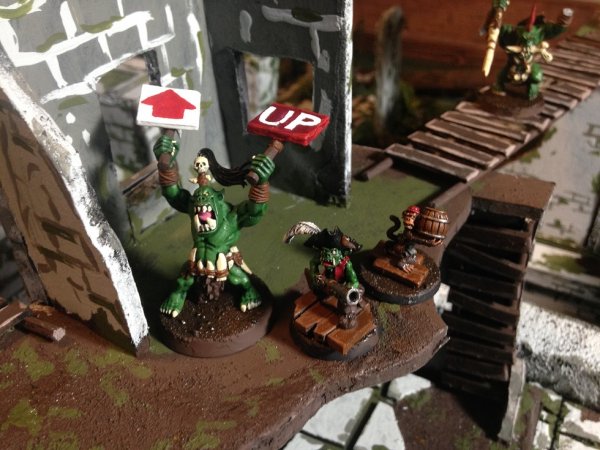
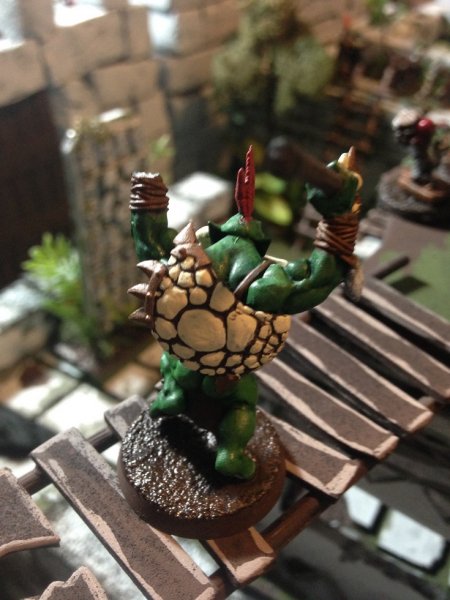
    • Da Boss, equipped with two clubs painted with strange, unintelligible hieroglyphs... :joyful:)
    • 2x Big 'Uns to back him up, both with shields, one with a spear and the other a choppa (sword)
    • 2x Orc Boyz with spears and knives
    • 2x Orc Boyz with shortbows
    • 2x Goblins with bows, here represented by my pirate goblin and his powder-monkey sidekick
    • And to round off the list I added my custom cave squig

    warden20181228_monkeys in the tower_team 1 orcs.jpg


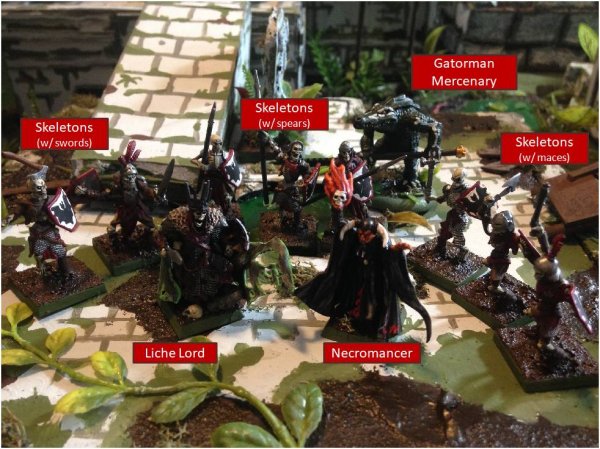
    Skeleton Warband: the Fright Knights
    • Liche Lord, modelled by my wight king on foot, with sword, shield, and heavy armor
    • Tim the Necromancer
    • 3x Skeletons with spears and shields
    • 3x Skeletons with clubs/axes and shields
    • 2x Skeletons with swords and shields (they may have actually counted as grave guard but I don't remember)
    • Also during the battle a Gatorman Mercenary showed up to assist the undead
    warden20181228_monkeys in the tower_team 2 skeletons.jpg
     
    Last edited: May 1, 2019
  17. Warden
    Slann

    Warden Tenth Spawning

    Messages:
    6,510
    Likes Received:
    18,460
    Trophy Points:
    113
    Deployment

    warden20181228_monkeys in the tower_overview 4.jpg

    I put together my own scenario for this battle, literally Monkeys in the Tower, in order to test out the random encounters rules. The whole idea is every turn you roll a # random encounter dice equal to the # of monkeys at the top of the tower. This represents the monkeys howling and making a racket, attracting all kinds of jungle creatures into the vicinity. The possibility of bigger and badder creatures only increases as the battle continues.

    The objective is simple though: steal the monkey's treasure! :vamp:

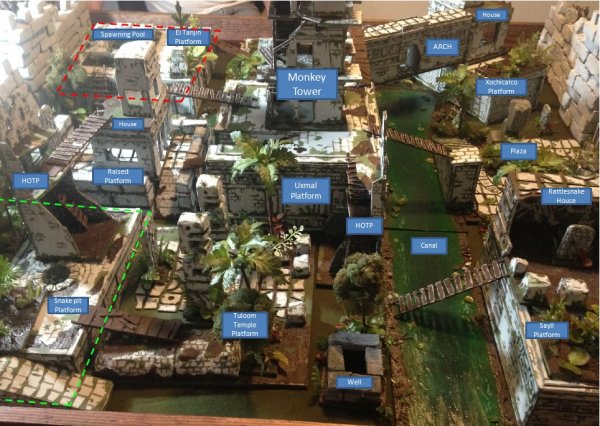
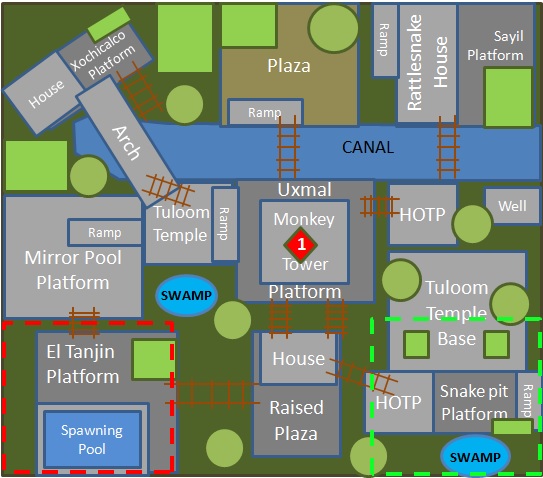
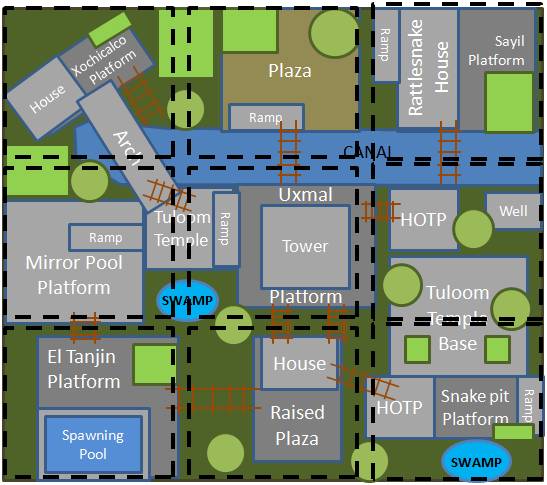
    The board maps with buildings labelled:

    warden20181228_monkeys in the tower_map 1.jpg
    warden20181228_monkeys in the tower_map 2.jpg

    Here is the terradon's eye view:

    warden20181228_monkeys in the tower_map 3.jpg

    Deployment zones were randomly assigned. We broke the board into nine squares and rolled for the squares on either side. We did this for all the random encounters as they arrived on the map.
    warden20181228_monkeys in the tower_map 4 quarters.jpg

    My brother's skeleton warband got the red corner by the spawning pool.

    warden20181228_monkeys in the tower_deployment 2.jpg

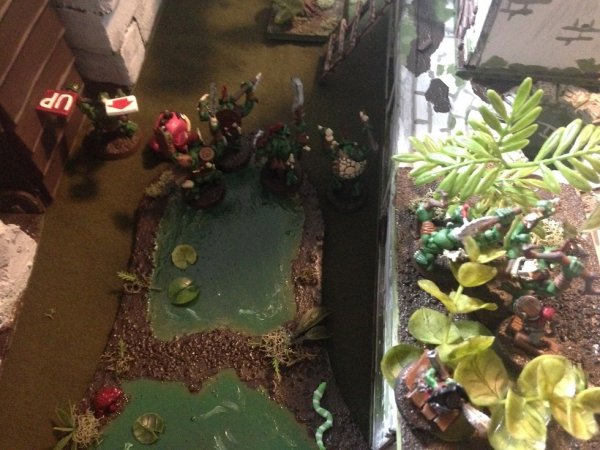
    ...and my orcs got the green corner by the swamp and snake pit.

    warden20181228_monkeys in the tower_deployment 1.jpg

     
    Scalenex, Imrahil and Cageyblood like this.
  18. Warden
    Slann

    Warden Tenth Spawning

    Messages:
    6,510
    Likes Received:
    18,460
    Trophy Points:
    113
    The Battle (part 1)

    So the objective was simple: grab the treasure at the top of the tower, and prevent the other warband from getting there first. This made the battle very straightforward. Biggest issue for the undead right off the bat was how slow they are, as my brother quickly found out.

    warden20181228_monkeys in the tower_battle 03.jpg
    warden20181228_monkeys in the tower_battle 06.jpg

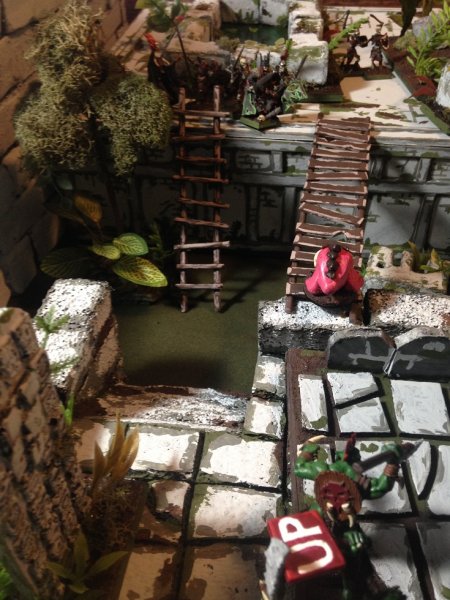
    My orcs rush up real fast to secure the bridges and main access routes

    warden20181228_monkeys in the tower_battle 05.jpg
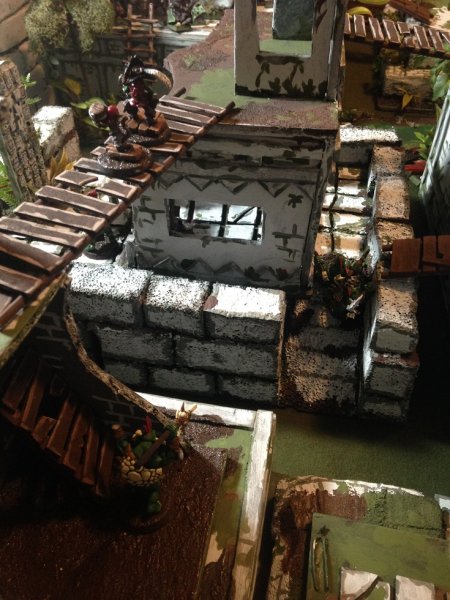
    The shortbow goblins getting a better vantage point:

    warden20181228_monkeys in the tower_battle 04.jpg

    The battle was a staring contest at the end of turn 2, with my orcs and cave squig grinning down the skeleton posse.

    warden20181228_monkeys in the tower_battle 08.jpg

    Goblins and the boss get into position above the field...

    warden20181228_monkeys in the tower_battle 10.jpg

    And due to a bad animosity roll one of the orcs threw a fit and refused to move... and when I accidentally bumped him off the roof of the building his hand came off! We just kept it that way, maybe he accidentally dropped his knife :joyful:

    warden20181228_monkeys in the tower_battle 07.jpg

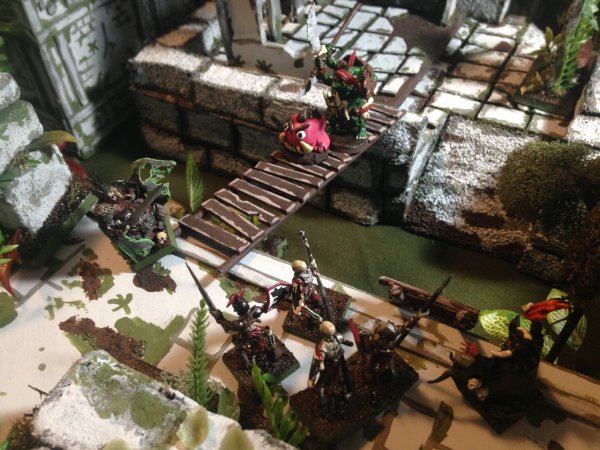
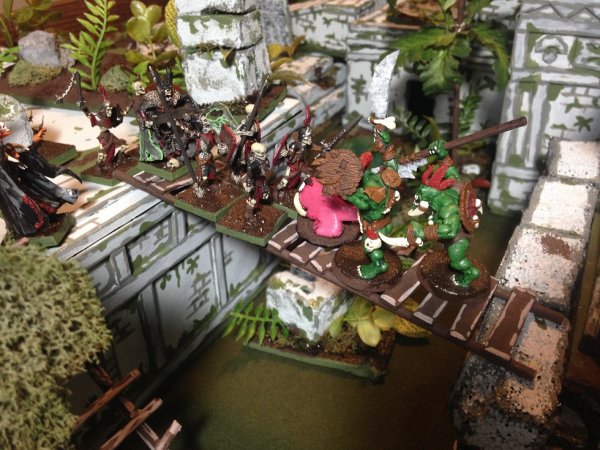
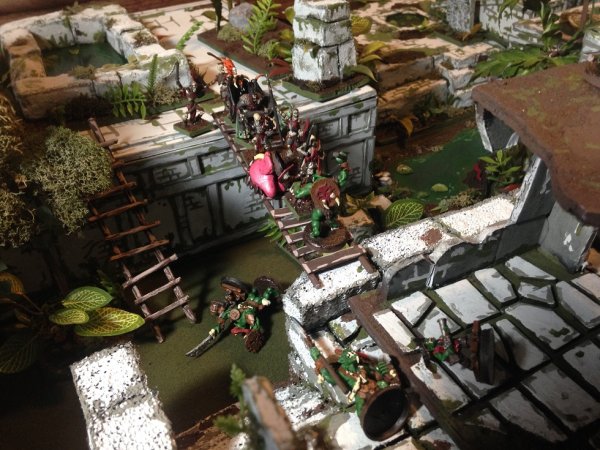
    Turn 2 or 3ish came along, and resulted in both armies charging into each other in the middle of the bridge. This engagement began a slog that looked like it was going to last the rest of the game...

    warden20181228_monkeys in the tower_battle 12.jpg
     
  19. Warden
    Slann

    Warden Tenth Spawning

    Messages:
    6,510
    Likes Received:
    18,460
    Trophy Points:
    113
    … and then things got more interesting!

    The Battle (part 2)

    A coatl showed up, right in the skeleton deployment zone, and directly behind the majority of their warband.

    warden20181228_monkeys in the tower_battle 14.jpg

    Then a carnosaur showed up right in front of two of the orcs trying to get up the tower:

    warden20181228_monkeys in the tower_battle 16.jpg

    Meanwhile the battle at the bridge continued with orcs slowly getting picked off, the squig getting knocked down, and a Big 'Un got in a fight with one of the goblins and they knocked each other out:

    warden20181228_monkeys in the tower_battle 15.jpg

    Things were not looking good for the orcs, and then the coatl charged the skeletons!

    warden20181228_monkeys in the tower_battle 17.jpg


    Meanwhile, some sneaky gits got the jump on the rest of the skeletons and were nearly at the top of the tower!

    warden20181228_monkeys in the tower_battle 22.jpg

    That is basically it, not much else happened this gam! The last turn of the game ended with the bridge fight still going on but swinging in the favor of the orcs (due to the rampant jungle fauna). A bunch of jungle swarms showed up too.

    warden20181228_monkeys in the tower_battle 23.jpg

    Ultimately we both conceded the savage orcs had won the day. They were simply so much faster than the skeletons, who could not "run" due to being skeletons. Because of the single, solitary objective the orcs were able to sneak a few dudes up to the top of the tower and would have made short work of the monkeys on top.

    Here is da boss celebrating his victory!

    warden20181228_monkeys in the tower_battle 24.jpg
     
  20. Imrahil
    Slann

    Imrahil Thirtheenth Spawning

    Messages:
    12,261
    Likes Received:
    25,338
    Trophy Points:
    113
    Nice battle, very good report (lots of pictures ;) )
    I love the terrain you got, is it a fixed board or is every bit interchangeable?

    looking forward to the second battle report.

    Gr, Imrahil
     

Share This Page